Ever wondered how top animators make characters speak so seamlessly? Lip sync animation is equal parts art, tech, and meticulous timing. From analyzing raw dialogue to mapping out keyframes, bringing a silent avatar or puppet to life takes real precision—and the right software.
Enter Adobe Animate. As the industry-standard choice for everything from YouTube videos to TV shows, WebGL, and HTML5 Canvas, Adobe Animate gives you the exact tools you need to master seamless lip-syncing. Besides that, FlexClip uses AI to add perfect lip sync animations to an existing photo and video. No skills needed. Let's dive in!
How to Do a Lip Sync Animation with Adobe Animate
First, there are things you need before you get started:
How to Lip Sync | Adobe Animate Tutorial
This is where you record all the audios you wish to lip sync into those characters you have created using your microphone and your selected recording software.
This is where you need to draw out all the mouth shapes you think you will be needing for your character throughout the animation. And make sure you convert each of them into a graphic symbol.
To achieve this, you need to first name all the mouth symbols according to the sound coloration of those mouths you drew:
Align each of the Mouth symbols in such a way that it is situated at the center of the stage. But you have to make sure that the mouth pose is organized within its Graphic Symbol (as in those mouth shapes you have drawn).
This is when you need to import the pre-recorded audio file you want to integrate into the animated character(s). To do this:
Here is where you need to assign each of the Viseme to individual sound (avatar). To do this:
Part 2. Create Lip Sync Animation with FlexClip AI
While Adobe Animate gives you frame-by-frame control for complex projects, not every timeline allows for manual keuframing. If you are looking a faster, budget-friendly way to achieve natural mouth movements without steep learning curve, FlexClip's AI-Driven automation is a game changer. It turns audio or simple script into synced character animation automatically in a fraction of the time. No editing skills is needed.
Click the Create Lip Sync Animation button below, and follow the steps above.

You are now at FlexClip's AI Avatar tool. Choose one out of 150+ AI avatars to help deliver your information. Hit Use to Get started.
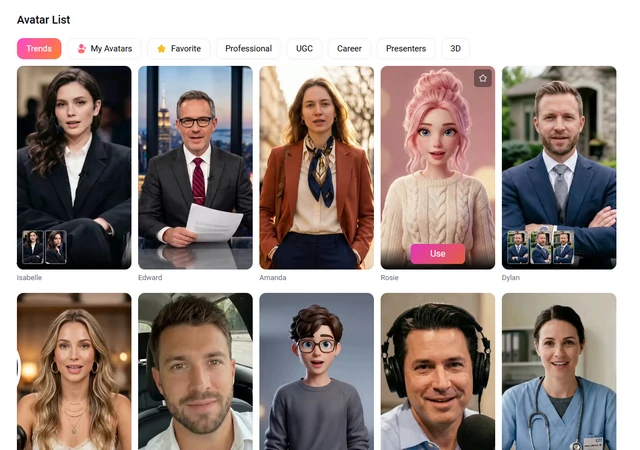
Use FlexClip AI Avatar
Instead, click the Video to Avatar or Image to Avatar button, upload a video or photo of a single person. FlexClip will create an AI avatar based on the reference resource.
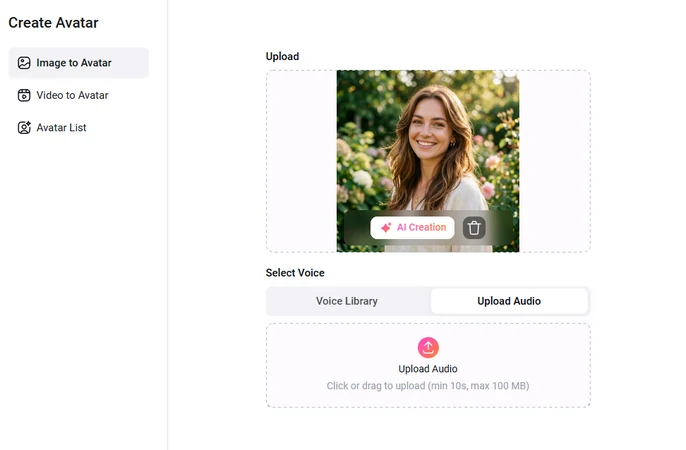
Create Your Own AI Avatar
Paste the script to the empty box, choose the right video aspect ratio, then select a voice. Hit Generate.
Moreover, you can upload an existing audio track between 3 seconds to 20 minutes. Then Hit Generate. AI will automatically create lip sync animation for you.
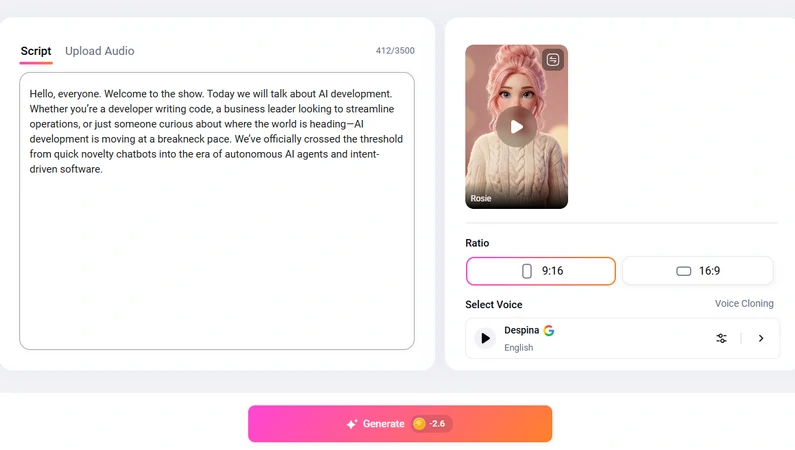
Paste Script to FlexClip
When the lip sync animations are done, head over to FlexClip's timeline, make basic edits like trimming, merging, adding captions, etc.
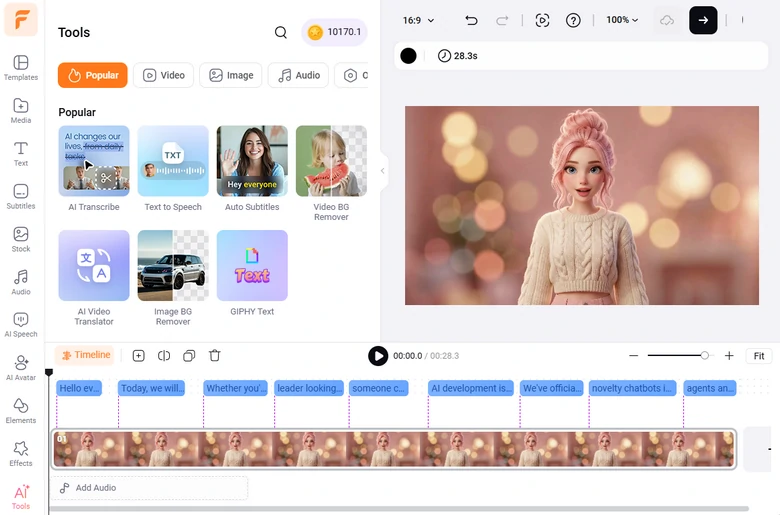
Edit Lip Sync Animations
Frequently Asked Questions
1. What is the difference between manual lip sync and AI lip sync?
For manual lip sync, you need to manually select and place keyframes for each mouth shape, which takes more time but gives total creative control over exaggerated expressions and acting choices. When it comes to AI lip sync, the algorithms automatically analyze the audio track and map visemes onto a rigged character model in real time. It is much faster, but may lack of fine artistic control.
2. Do I should record the audio before or after animating?
Always record the audio before animating. Animating to a pre-recorded audio track allows you to break down the exact audio timing frame-by-frame. Animating first and trying to fit audio to existing mouth movements produces unnatural, out-of-sync results.
3. Should I animate the mouth frame-by-frame for every single syllable?
No. In fast speech, the human mouth naturally skips or blends shapes. Focusing on key stress sounds and major vowels creates a much smoother and more natural look than rapidly swapping mouth shapes on every single frame.




FlexClip AI Video Maker
Reach professional-quality videos faster with easy editing tools, templates, and smart AI.
Start Now for Free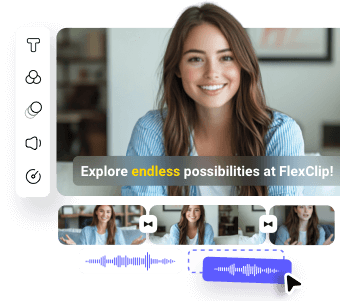
Hot & Trending
-
Best Ways to Find Music in YouTube Videos
-
Instagram Story Video Quality Bad After Upload? Fix It!
-
How to Repost Video on TikTok & How to Remove TikTok Repost
-
Improve Video Quality Online: 3 AI Video Quality Enhancers You Can't Miss
-
4K Convert to HD 1080p without Watermark: Best 4k Video Converters
-

Best 8 Free Video Editors - No Download Required
-
Top 13 Birthday Video Makers with Music and Effects Free
-
How to Search Filters on TikTok & Use a Filter You See - TikTok Filter Guide